 Morgan Johnson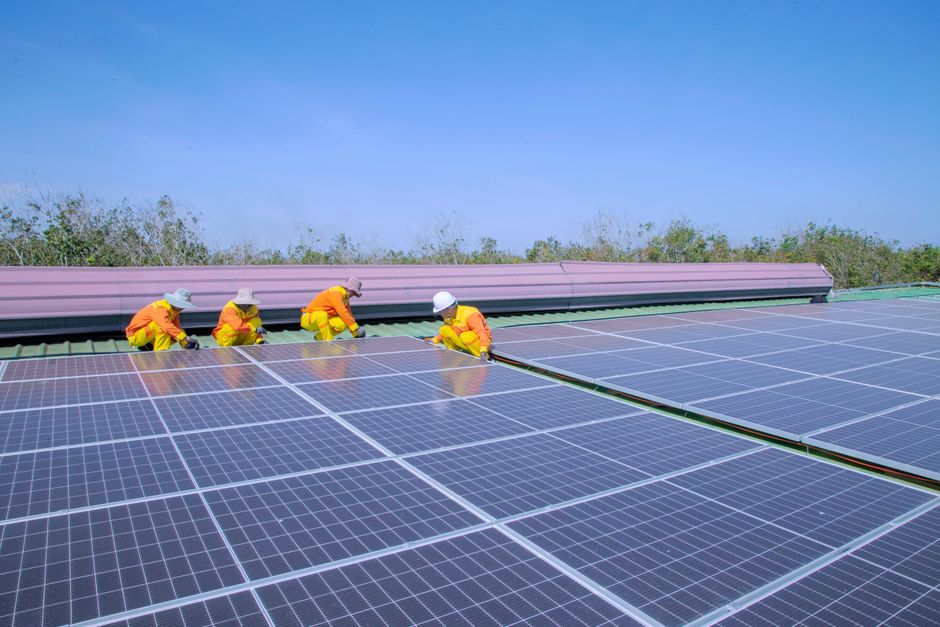
Most homeowners who call a solar company get quoted $3,000 to $6,000 in labor alone for a ground mount system, and that number still stings every time I hear it, because I’ve watched people do this themselves for under $800 in hardware and a long weekend.
I’ll be honest: I came to ground mounts skeptical. My background is rooftop work, and for years I assumed ground mounts were the “easy mode” that anyone could figure out. Then I actually tried to spec one out myself for a client in rural Montana who had a terrible south-facing roof, and I realized how much could go wrong if you didn’t know what you were doing, from undersized pier footings to conduit that fails inspection. There’s a real learning curve here. But it’s a learnable one.
What surprised me was how much the permitting and structural side trips people up relative to the actual wiring. The electrical is, in many ways, the simpler part if you have any background there. The civil side, footings, setbacks, soil conditions, that’s where most DIYers get humbled.
- DIY ground mount labor savings often run $2,500–$5,000 compared to full contractor installs.
- Most jurisdictions require permits for ground mounts over 10 sq ft; always pull one before digging.
- Post depth depends on frost line: in Minnesota, you may need footings 54 inches deep.
- Galvanized steel racking from IronRidge or Unirac typically runs $0.15–$0.25 per watt for hardware.
- A 6kW DIY ground mount (12 x 500W panels) realistically takes 3–5 days for one experienced person.
What You’re Actually Building
A ground mount is three systems stacked on top of each other: a foundation (usually driven posts or poured concrete piers), a racking structure (aluminum or galvanized steel), and then the standard solar array on top. The electrical portion from the combiner box back to your main panel is essentially identical to any other PV system.
The foundation is the part that changes most by location. In Florida, you might drive galvanized Schedule 80 steel pipes two feet into sandy soil and be done. In Chicago, you’re pouring concrete to 54 inches because that’s the frost line, and you’ll wait 72 hours minimum before you can set racking on fresh piers. I’ve watched impatient DIYers skip the cure time and end up with racking that shifted over winter. Don’t do it.
For racking, IronRidge and Unirac are the two brands you’ll see most on residential projects, and both have free engineering tools online (IronRidge’s XR100 rail calculator is genuinely good). As of July 2026, galvanized steel post sets for a 6kW system are running roughly $400–$650 depending on array size and post count.
Permits and Setbacks: The Part That Bites People
Helpful resource: Solar Panel Cleaning Brush Kit with Extension Handle is a top-rated option for this. (As an Amazon Associate this site earns from qualifying purchases.)
I don’t know a single inspector who’s going to wave through a ground mount without documentation. The Solar Energy Industries Association notes that local permitting is one of the top cost drivers for residential solar, and in my experience that’s as true for DIY as it is for contractors.
Here’s what you’ll typically need:
- A site plan showing the array’s location relative to property lines, structures, and easements
- A structural letter or engineered drawings for the racking (IronRidge and Unirac both provide stamped letters for their systems if you use their online tools correctly)
- A single-line electrical diagram
- Sometimes a soil report, though this is less common on residential projects
Setbacks vary enormously. My county requires ground mounts to be at least 5 feet from any property line, but some jurisdictions treat them like accessory structures and require 10–15 feet. Call your building department before you dig a single hole. Ask specifically: “Is a residential solar ground mount classified as an accessory structure or a utility installation?” The answer changes which code path applies.
HOA members: get written approval before you spend a dime on materials. Verbal approval from the HOA president means nothing.
Sizing the System and Picking Your Posts
Complete Hybrid Solar Inverter Wiring Installation | How to Install at Home · Electrical Technologies on YouTube
The first mistake I made when helping spec that Montana job was treating it like a rooftop system and forgetting that ground mounts don’t have to compromise on tilt angle. On a roof, you’re locked into the roof pitch. On the ground, you can set your panels at whatever angle maximizes your annual production for your latitude. For most of the continental US, that’s between 30 and 40 degrees. At 45 degrees north latitude (roughly Minneapolis), a 35-degree fixed tilt gets you within about 1–2% of optimal annual output.
Here’s a realistic cost comparison for a 6kW DIY ground mount vs. a contractor-installed system in the Midwest as of 2026:
| Line Item | DIY Cost | Contractor Cost |
|---|---|---|
| Solar panels (12 x 500W, Jinko or Canadian Solar) | $2,400–$3,000 | $3,600–$4,200 |
| Racking and posts (IronRidge or Unirac) | $500–$700 | $900–$1,200 |
| Inverter (Enphase IQ8 micros or SolarEdge) | $1,400–$1,800 | $1,800–$2,400 |
| Wiring, conduit, breakers, misc. | $300–$500 | $600–$900 |
| Concrete and footings (materials only) | $150–$250 | $400–$600 |
| Labor | $0 (your time) | $3,000–$5,500 |
| Permit fees | $150–$400 | $150–$400 |
| Total estimate | $4,900–$6,650 | $10,450–$15,200 |
Those contractor numbers assume a standard Midwest market. Coastal California or New England? Add 20–30%.
The Actual Installation Sequence
This is where I want to be specific, because vague advice is useless.
Step 1: Layout and soil assessment. Mark your post locations with stakes. Hand-dig 6–12 inches at each location to check for rock, utility lines (call 811 first, always), or unexpected groundwater. The presence of clay soil matters a lot; clay heaves in freeze-thaw cycles and can push posts over time if you don’t go deep enough.
Step 2: Post holes. Rent a two-man towable auger (typically $180–$250/day from Sunbelt or United Rentals). For a 6kW array in a moderate frost zone, you’re looking at 4–6 posts at 36–42 inch depth, 10-inch diameter holes. Each hole uses roughly one 80-pound bag of fast-setting concrete plus water.
Step 3: Set posts and let concrete cure. Check plumb on each post with a level before the concrete sets. This is the one place I’d say you almost can’t be too obsessive about getting right, because out-of-plumb posts make every subsequent step harder. Wait a full 72 hours in warm weather, longer if temps are below 50°F.
Step 4: Attach racking rails. Follow the manufacturer’s torque specs. IronRidge publishes these clearly; they’re not suggestions. Over-torqued hardware will deform the rail extrusions.
Step 5: Panel mounting. Set panels starting from one corner. Most racking systems use mid-clamps between panels and end-clamps at the row edges. Use a torque wrench. Panels should be snug but not deforming the frame.
Step 6: Electrical. This is a full article on its own, but the short version is: panel strings run to a combiner box (or directly to microinverter trunk cables if you’re using Enphase), then conduit runs to your inverter, then from the inverter to your main panel via a new breaker. For DIY, I’d strongly suggest a home energy monitor like the Emporia Vue installed at commissioning so you can verify production from day one. (The site may earn a commission on purchases.)
Scenario example: A reader in rural Ohio installed a 7.5kW ground mount in spring 2025 using IronRidge XR100 rails and Enphase IQ8 micros. He pulled his own permit (took 3 weeks, one revision to his site plan), rented an auger, and poured his own footings. Total out-of-pocket: $7,100. A local installer quoted him $18,400 for a similar system. His payback period dropped from 11 years to under 5.
Don’t Overlook the Wire Run
The distance from your array to your main panel matters more than most people plan for. Every additional 50 feet of run can mean stepping up a wire gauge to keep voltage drop under 2%. The U.S. Department of Energy’s homeowner solar guide recommends keeping DC wire runs as short as possible, which is partly why inverter placement near the array (as with microinverters or string inverters mounted at the racking) beats running DC all the way to the house.
If your array is 150+ feet from the panel, use a licensed electrician for that wire run even if you do everything else yourself. The voltage drop math gets complicated fast, and an inspector will scrutinize that conduit run.
Sources
- Solar Energy Industries Association (SEIA): Industry data on permitting costs and residential solar installation trends
- U.S. Department of Energy, Office of Energy Efficiency and Renewable Energy: Homeowner’s guide to going solar, including grid connection and permitting basics
- IronRidge XR100 Installation Manual (current 2026 edition): Structural specs, torque values, and engineering documentation for residential ground mount racking
- National Electrical Code (NEC) Article 690: Solar photovoltaic systems, governing electrical installation requirements for PV
- NRCA/IBHS Frost Depth Map (2023 update): Regional soil frost line data for footing depth planning across US climate zones
Photo: Hoan Ngọc via Pexels
Recommended Resources
Disclosure: As an Amazon Associate, we earn a small commission from qualifying purchases at no extra cost to you. We only recommend products that genuinely support the topics covered in this article.
- Renogy 200W Solar Starter Kit + 30A Charge Controller (~$169), Complete beginner solar kit, 200W monocrystalline panel, charge controller, and mounting hardware included.
- Renogy 2×100W Monocrystalline Solar Panels (~$99), Expandable 200W panel set from the most trusted DIY solar brand, used widely in off-grid and home backup systems.
- Renogy 200W Solar Kit + 20A MPPT Controller (~$199), 200W panel kit with MPPT charge controller for maximum energy harvest.





