 Tom Bradley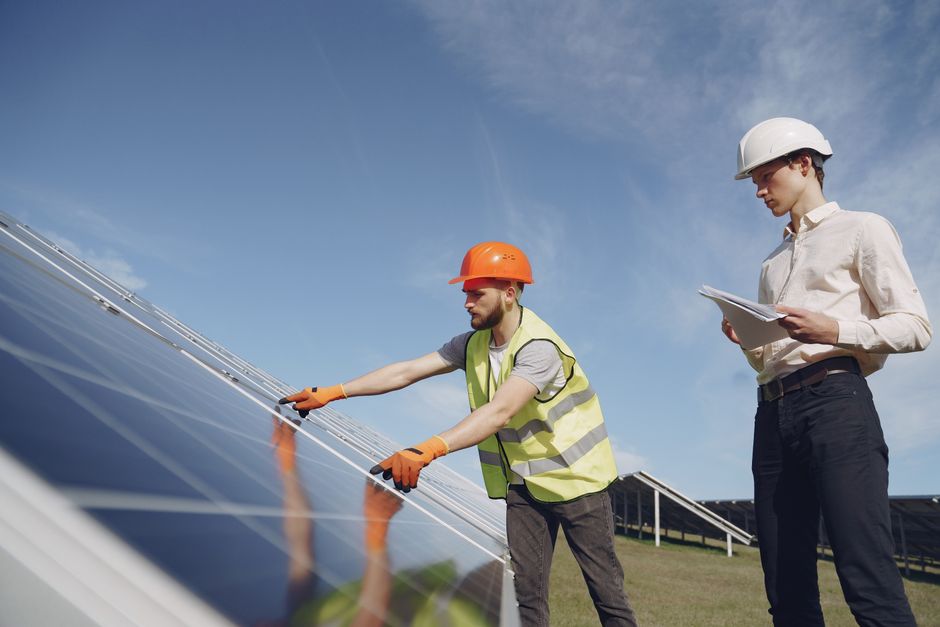
Hot spots kill solar panels quietly. No alarm goes off, no warning light blinks, you just watch your production numbers slowly bleed out while a cell or two on one panel bake themselves into permanent failure. I’ve seen homeowners lose 15-20% of a panel’s output to a hot spot that nobody caught for two years.
Most coverage of this problem stops at “keep your panels clean.” That’s true but incomplete in a way that’s almost misleading.
What’s Actually Happening Inside a Hot Spot
A solar cell generates electricity by moving current through a circuit. When one cell in a series string gets shaded, soiled, or starts degrading, it can’t carry its share of the current anymore. The surrounding cells essentially force current through it anyway. That cell switches from being a generator to being a resistor, and all that energy dumps as heat into a spot the size of your palm.
Temperatures at a hot spot can hit 200°C (392°F) or higher. At those temps you get discoloration of the encapsulant (that yellowing you sometimes see on older panels), microcracks in the cell itself, and in bad cases, actual burn-through of the backsheet. I’ve pulled panels with holes you could stick a finger through.
Here’s the part most guides gloss over: bypass diodes are supposed to prevent this. Every modern panel has diodes wired around groups of cells, so if one cell fails, the diode kicks in and routes current around it. The problem is that bypass diodes themselves fail, especially in systems older than 8-10 years, and even a working diode doesn’t fully eliminate heat stress. It reduces it. There’s a difference.
The Four Main Causes (Ranked by Frequency)
| Cause | Frequency Rank | Primary Indicator | Prevention/Detection |
|---|---|---|---|
| Bird droppings | 1st | Localized shadow on single cell | Regular inspection, bird proofing |
| Partial shading | 2nd | New tree growth or roof additions | Monitor tree growth, check for new structures |
| Cell cracking | 3rd | Physical stress during installation or roof work | Visual inspection for micro-cracks |
| Manufacturing defects | 4th | Hot spot within 12-18 months of install | Warranty claim on new panels |
Helpful resource: Jackery Explorer 300 Portable Power Station is a top-rated option for this. (As an Amazon Associate this site earns from qualifying purchases.)
Bird droppings sit at number one. A single dropping covering one cell is enough to trigger a hot spot because the current imbalance is immediate and concentrated. Unlike general dust that degrades output evenly, a dropping creates a hard shadow on a specific cell while the panel’s other 59 cells keep hammering current through it.
Second is partial shading, usually from a new tree branch, a neighbor’s addition, or a rooftop AC unit that wasn’t there when the system was designed. If you’ve had a roof addition or significant tree growth since install, this is worth investigating before anything else.
Third is cell cracking from physical stress. Installers walking across panels during other roof work is a common culprit nobody talks about. Micro-cracks don’t always show up immediately; they can develop into hot spots over one or two thermal cycles.
Fourth is manufacturing defects. Less common with established brands, but not rare. If a brand-new panel develops a hot spot within 12-18 months, that’s a warranty call, not a maintenance call.
How to Find a Hot Spot Without Expensive Equipment
A thermal camera is the right tool. FLIR makes handheld imagers starting around $300-400 for basic models, and if you have more than 15 panels, that investment pays for itself in one diagnostic session. You’re looking for a panel running 10-15°C hotter than its neighbors at the same sun angle.
No thermal camera? A few workarounds: First, check your string-level production data if you have a monitoring system with panel-level or string-level granularity. An Enphase microinverter system, for instance, will show you individual panel output. A panel running 80W when its neighbors average 340W on a clear day is telling you something. SolarEdge optimizers give you the same data.
The eyeball method matters more than people admit. Get up there (safely) and look for any discoloration, brown or yellow patches visible through the glass, or backsheet that looks bubbled or blistered. Also check all bypass diode leads at the junction box on the back of the panel. A burning smell when you open that box is not subtle.
One scenario I’ve seen repeat itself: Homeowner in Phoenix notices a production dip every August afternoon. Checks monitoring, finds one panel in a string dropping to near-zero. Clears a bird dropping, production recovers. Two weeks later, same panel drops again. New dropping? No. The bypass diode failed silently after being stressed by the earlier hot spot event. The diode failure masked itself as a recurrence of the original problem. Panel needed a diode replacement (or replacement panel if under warranty). Clearing the dropping → partial recovery → identifying diode failure → replacing junction box assembly → full production restored at ~98% of original output.
A good solar panel cleaning kit helps here, not just for the cleaning itself but because getting up close lets you do a visual inspection that remote monitoring can’t replace. (Note: this site may earn a commission on purchases through Amazon links.)
The Fix: From Simple to Surgical
Step one: Clean the affected panel. Use deionized or distilled water if you can get it. Tap water leaves mineral deposits that create their own micro-shading over time. A soft brush, not pressure, and clean in the early morning before the panel heats up. Cleaning a hot panel with cold water causes thermal shock, and while I’ve never personally cracked a panel that way, I’ve heard enough credible accounts that I won’t risk it.
Step two: Eliminate shade sources. Trim the branch. If it’s a new structure causing the shade, talk to whoever can move it, or consider reorienting affected strings. This is where a SolarEdge or Enphase system with power optimizers pays off: they dramatically reduce the string-level impact of one shaded panel.
Step three: Inspect and test bypass diodes. This requires opening the junction box and using a multimeter to check diode continuity. If you’re not comfortable with electrical testing, don’t improvise here, get a technician. A failed diode reads as open circuit in the forward-bias direction. Replacement diodes run $5-15 each; junction box replacement assemblies are $30-80 depending on panel manufacturer.
Step four: If cell damage is confirmed, assess for warranty replacement. The Solar Energy Industries Association (SEIA) notes that most panel manufacturers carry 10-12 year product warranties and 25-year performance guarantees. Document everything with photos. A panel with confirmed backsheet burn qualifies under most product warranties. Don’t just eat the loss.
One more scenario worth knowing: a reader in Sacramento emailed me last spring after noticing his 2019 install was producing about 11% below projections. His installer dismissed it as “normal degradation.” Thermal scan revealed three panels with active hot spots from micro-cracks likely caused by a roofer who’d replaced a vent pipe nearby. Warranty replacements covered two panels. The third was a panel brand that had since been acquired and the warranty was a headache to collect, but he eventually got a credit. Total recovered value: roughly $1,400 over the expected system life, based on production loss calculations. Took him four months of documentation.
What a Home Energy Monitor Adds to This
If you’re serious about catching hot spots early, a home energy monitor paired with panel-level production data creates a baseline that makes anomalies obvious. The U.S. Department of Energy’s homeowner solar guide recommends tracking production trends monthly. That’s the minimum. Weekly is better. What you’re looking for isn’t just overall production, it’s one panel or string that’s trending downward while others hold steady.
As of July 2026, panel-level monitoring has gotten cheap enough that there’s no real excuse to run a string inverter without optimizers on any new install where shading is a realistic factor. Retrofit optimizer kits from SolarEdge run $40-80 per panel. Not cheap, but cheaper than replacing panels you could have saved.
Sources
- U.S. Department of Energy, Homeowner’s Guide to Going Solar: Official federal resource covering solar system monitoring, warranties, and best practices.
- Solar Energy Industries Association (SEIA): Industry data on warranty standards and solar panel performance benchmarks.
- Woyte, A., Nijs, J., and Belmans, R. (2003): “Partial shadowing of photovoltaic arrays with different system configurations,” Solar Energy journal, foundational research on how cell mismatch drives hot spot formation.
- NREL Technical Report, “Hot Spot Susceptibility and Testing of PV Modules” (Sandia National Laboratories collaboration): Field research on thermal imaging as a detection method and bypass diode failure rates.
- IEC 61215 Standard: International standard for crystalline silicon terrestrial PV module testing, including hot spot endurance testing protocols.
Recommended Resources
Disclosure: As an Amazon Associate, we earn a small commission from qualifying purchases at no extra cost to you. We only recommend products that genuinely support the topics covered in this article.
- Renogy 200W Solar Starter Kit + 30A Charge Controller (~$169), Complete beginner solar kit, 200W monocrystalline panel, charge controller, and mounting hardware included.
- Renogy 2×100W Monocrystalline Solar Panels (~$99), Expandable 200W panel set from the most trusted DIY solar brand, used widely in off-grid and home backup systems.





